Content-Security-Policy: upgrade-insecure-requests
  1. Dashboard
  2. Opel Library
    1. Opel File Index
    2. Articles
    3. Docs & Files
    4. Manuals Index
  3. Members Projects
    1. Index
  4. Opel Links
  5. Media Library
    1. Albums
    2. Video channels
  6. Marketplace
    1. Map
    2. Reviews
  7. Forum
    1. Unresolved Threads
  8. Gallery
    1. Albums
  9. Calendar
    1. Upcoming Events
    2. Map
  10. Members
    1. Recent Activities
    2. Users Online
    3. Team
    4. Search Members
    5. Members Map
  11. Forms
  12. Donate list
    1. Donate
  13. Competitions
  • Login or register
  • Search
Blog Articles
  • Everywhere
  • Forum
  • Blog Articles
  • Gallery
  • Events
  • Articles
  • Marketplace Item
  • Pages
  • Filebase Entry
  • Opel Library
  • Images
  • Videos
  • Link-Database
  • More Options
  1. Classicopels.com - Alt-Opel.US
  2. Projects
  3. 24v Ascona A Wagon Project

Registration

Don’t have an account yet? Register yourself now and be a part of our community!

Register Yourself

Please consider contributing to this sites upkeep.

Donate now

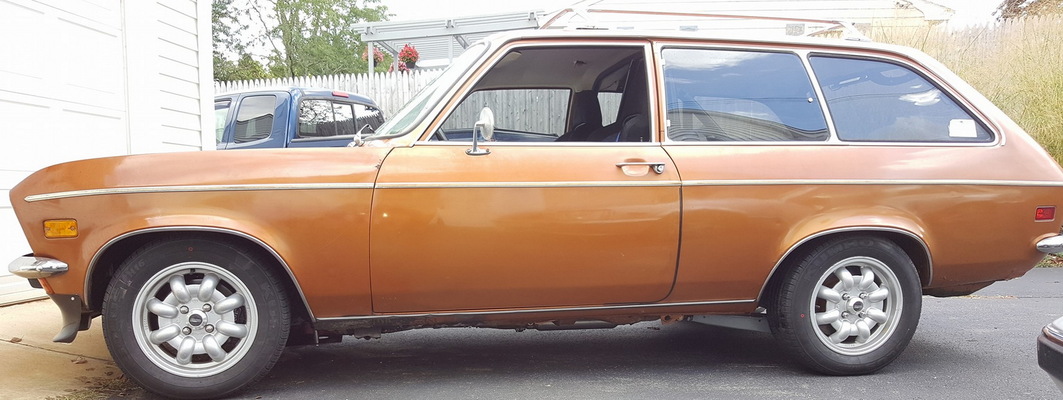
Mancona Conversion - Part 2

  • Gary
  • December 27, 2020 at 10:00 AM
  • 1,864 times read

Part 2

One of the issues I ran into was the donor Manta nose was from a 1974 which has large aluminum bumpers. The tubes for the bumper mounts run parallel to and blend into the frame rails further back. This meant the frame rail would need to be cut further back than if a small bumper nose was used.


The main rail opening is just about the size of 2 1/2" x 2" angle iron. I ground down the edges and now have sleeves to insert into the opening which will support and align the nose during fitment.

I made the first cut on the wagon near where it would have been for an early bumper nose. This allowed for a more accurate final cut.


The final cut was made on both sides, roughly 1/2 inch back from the rear skid plate mounting hole

Passenger side cut line.


I used my engine hoist to support the nose piece for the initial alignment.

Next up, do a rough alignment and then check with the fenders.

  • Share
  • Previous Article Mancona Conversion

Comments

Newly created comments need to be manually approved before publication, other users cannot see this comment until it has been approved.

  • Smilies
  • :thumbsup:
  • :)
  • :(
  • ;)
  • :P
  • ^^
  • :D
  • ;(
  • X(
  • :*
  • :|
  • 8o
  • =O
  • <X
  • ||
  • :/
  • :S
  • X/
  • 8)
  • ?(
  • :huh:
  • :rolleyes:
  • :love:
  • 8|
  • :cursing:
  • :thumbdown:
  • :thumbup:
  • :sleeping:
  • :whistling:
  • :evil:
  • :saint:
  • <3
  • :!:
  • :?:

Categories

  • Member Projects

Archive

  1. 2020 (3)
    1. December (2)
      • Mancona Conversion - Part 2
      • Mancona Conversion
    2. March (1)
  2. 2019 (1)
    1. November (1)

Tags

  • Manta A
  • mancona
  • Ascona A
  1. Privacy Policy
  2. Contact
Powered by WoltLab Suite™ 6.0.22